Images, ISOs & devices
Beyond creating and connecting to VMs, Bitsmith manages the images they’re built from, lets you pass hardware through, and checks your server can run virtualization well.
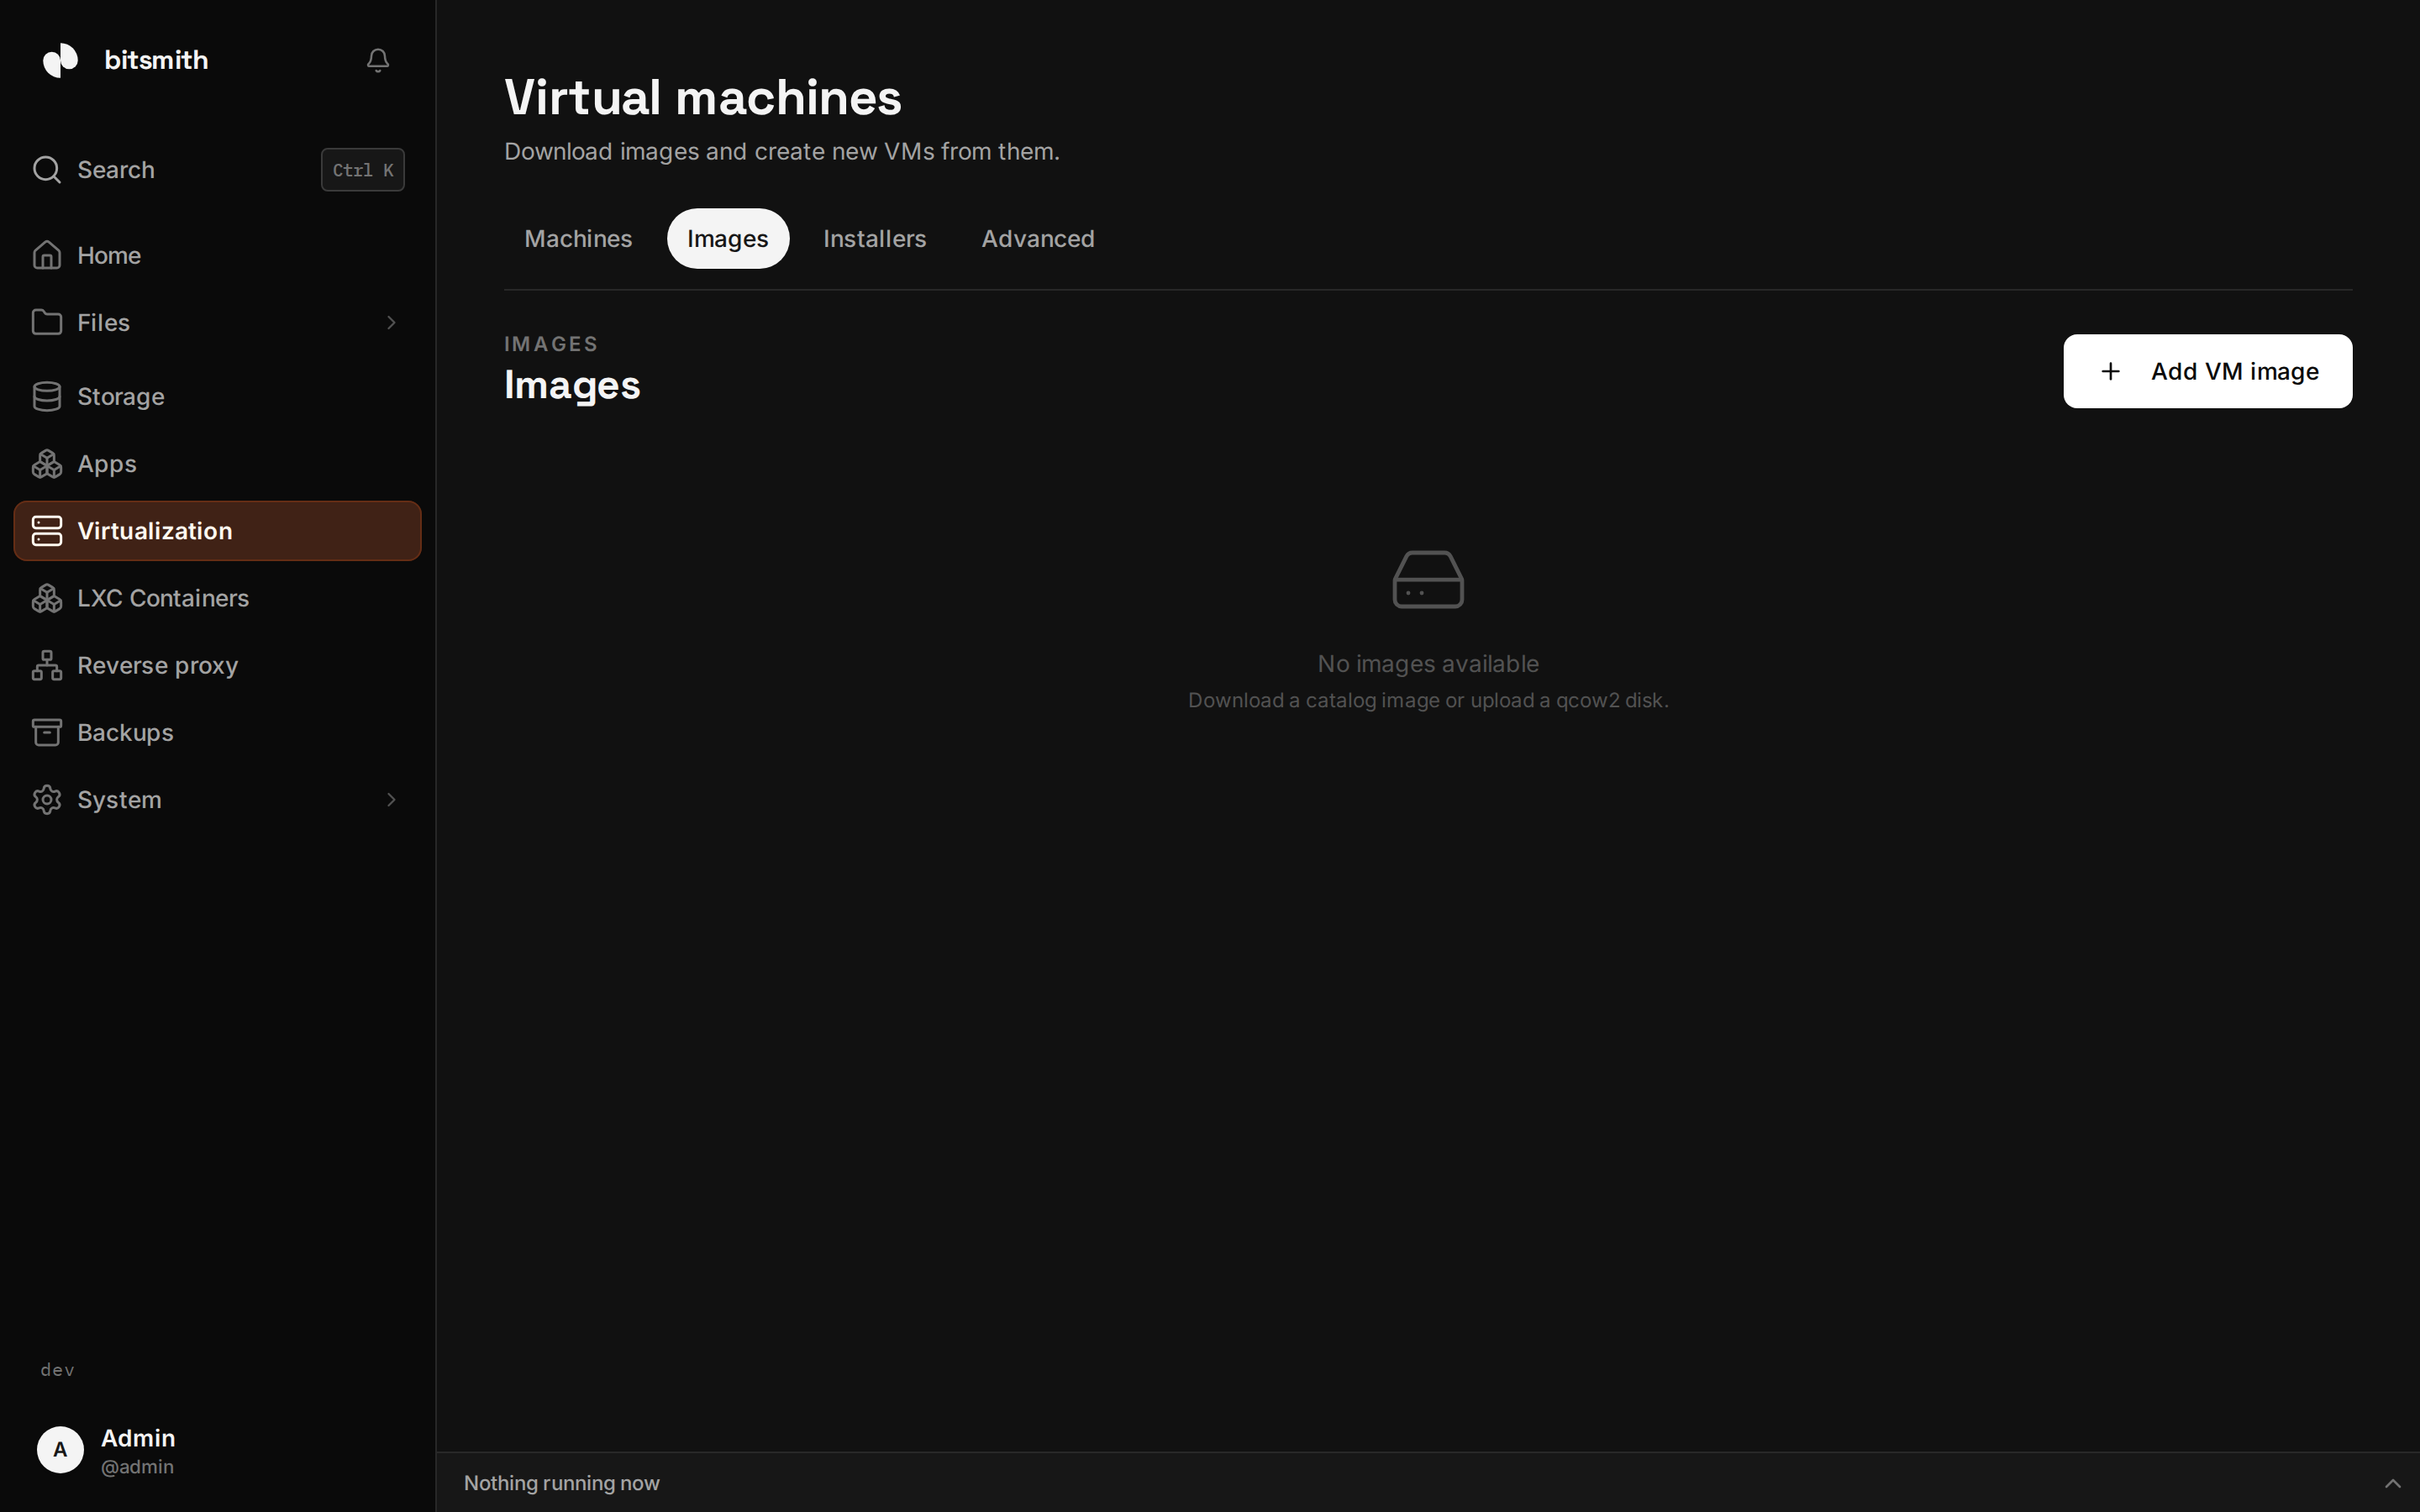
Images and ISOs
Section titled “Images and ISOs”Images are cloud images VMs are cloned from. Download ready-made ones from the catalog, which currently ships Debian 13, Ubuntu 26.04 LTS Server, and Fedora 44, each for amd64 and arm64, or upload your own qcow2 disk image. Manage them on the VM Images page.
ISOs are installer discs for building a VM from scratch. Upload an ISO on the Installers page, then choose it as the source when creating a VM. You can also mount an ISO into an existing VM, for example to run a repair tool.
Downloaded images and uploaded ISOs are stored on a storage space and can be deleted when you no longer need them.
Windows
Section titled “Windows”To install Windows 10 or 11, create a VM and pick Windows. Under Installer, click Open Microsoft, choose Windows 11 (multi-edition ISO for x64 devices) and your language on Microsoft’s page, then copy the link of the 64-bit Download button and paste it into Bitsmith. Bitsmith checks it, shows the version and language, and downloads the ISO straight to your server when you create the VM. The link works for 24 hours. The ISO is kept under Installers, so the next Windows VM can use it without a download. You can also upload an ISO or use one already on the server.
Bitsmith gives the VM hardware the Windows installer has drivers for, UEFI with Secure Boot, and a TPM 2.0, which Windows 11 requires. It also attaches a second disc with the VirtIO drivers, which it downloads the first time and keeps under Installers.
On the Access step, Install Windows by itself is on by default. Set a username and password, and a product key if you have one. The VM starts right away and Windows Setup runs without questions: it installs Windows, creates your account, signs in once and installs the guest tools, so the VM’s page shows its name, address and disk use. Open the console to follow along; the desktop appears in about 15 minutes. Without a product key, Windows Pro installs without activation, and you can activate it later in Windows Settings. Bitsmith removes the disc with your setup answers once Windows is running.
Turn Install Windows by itself off to click through Windows Setup in the
console yourself. Setup starts by itself; once Windows is installed, open the
drivers disc in File Explorer and run virtio-win-guest-tools.exe. You can
eject both discs from the VM’s menu afterwards.
USB passthrough
Section titled “USB passthrough”To give a VM direct access to a physical USB device (a license dongle, a TV tuner, a drive), open USB devices from the VM’s menu and select the device. The VM sees the hardware as if it were plugged into it directly. USB is the only passthrough Bitsmith does; there’s no GPU passthrough.
Boot firmware
Section titled “Boot firmware”Each VM can boot with either BIOS (SeaBIOS) or UEFI (OVMF), and on x86 servers it can have Secure Boot and a TPM 2.0. Most modern cloud images work with the default; change the firmware from the VM’s Configuration tab if an OS requires it.
Host readiness
Section titled “Host readiness”The VM Advanced page checks your server is set up for virtualization, for example that hardware acceleration (KVM) is available. Green checks mean you’re good to go; a warning explains what’s missing and what it affects. If your hardware or BIOS doesn’t support virtualization, VMs may run slowly or not at all.