Backups
Protection against a dead drive is not a backup. A backup is a second copy in another place, so you’re covered against deletion, mistakes, or losing the whole machine. Bitsmith backs up folders, apps, virtual machines, and LXC containers, and keeps its own configuration backed up automatically.
Back up a VM, container, app, or folder
Section titled “Back up a VM, container, app, or folder”There’s no separate backup plan to create. A schedule lives on the thing you’re backing up.
- Open the VM, container, or app you want to protect, or a folder in Files, and choose Back up.
- Where, choose a destination: the system drive, a storage space on this server, or a connected location (a share on another machine). Places already used for backups are listed first.
- Choose when:
- Back up now starts a single run against that destination right away.
- On a schedule runs it automatically: manual, daily at a time you choose, weekly on a day and time, or a cron expression for more control.
- Keep, how many versions to keep at that destination before the oldest is removed. The dialog shows the estimated size of keeping that many.
- Advanced (VMs and containers):
- Virtual machines: Stop, back up, restart (the safest default; if the VM is running, Bitsmith stops it first), Guest-agent snapshot (keeps the VM running and freezes files briefly for a consistent backup), or Running snapshot (keeps the VM running; fast, but only crash-consistent).
- Containers: Freeze (recommended), Stop, back up, restart, or Auto, which tries freeze first and proceeds without it if that fails.
- Review and confirm.
A source can have more than one schedule. Add a second one pointing at a different destination and it keeps its own versions independently, on its own cadence.
If a schedule already covers the source and destination you pick, Back up now runs that schedule early, on top of the versions it already keeps. Otherwise it’s a one-off: it doesn’t count against, or prune, any schedule’s kept versions.
See what you have
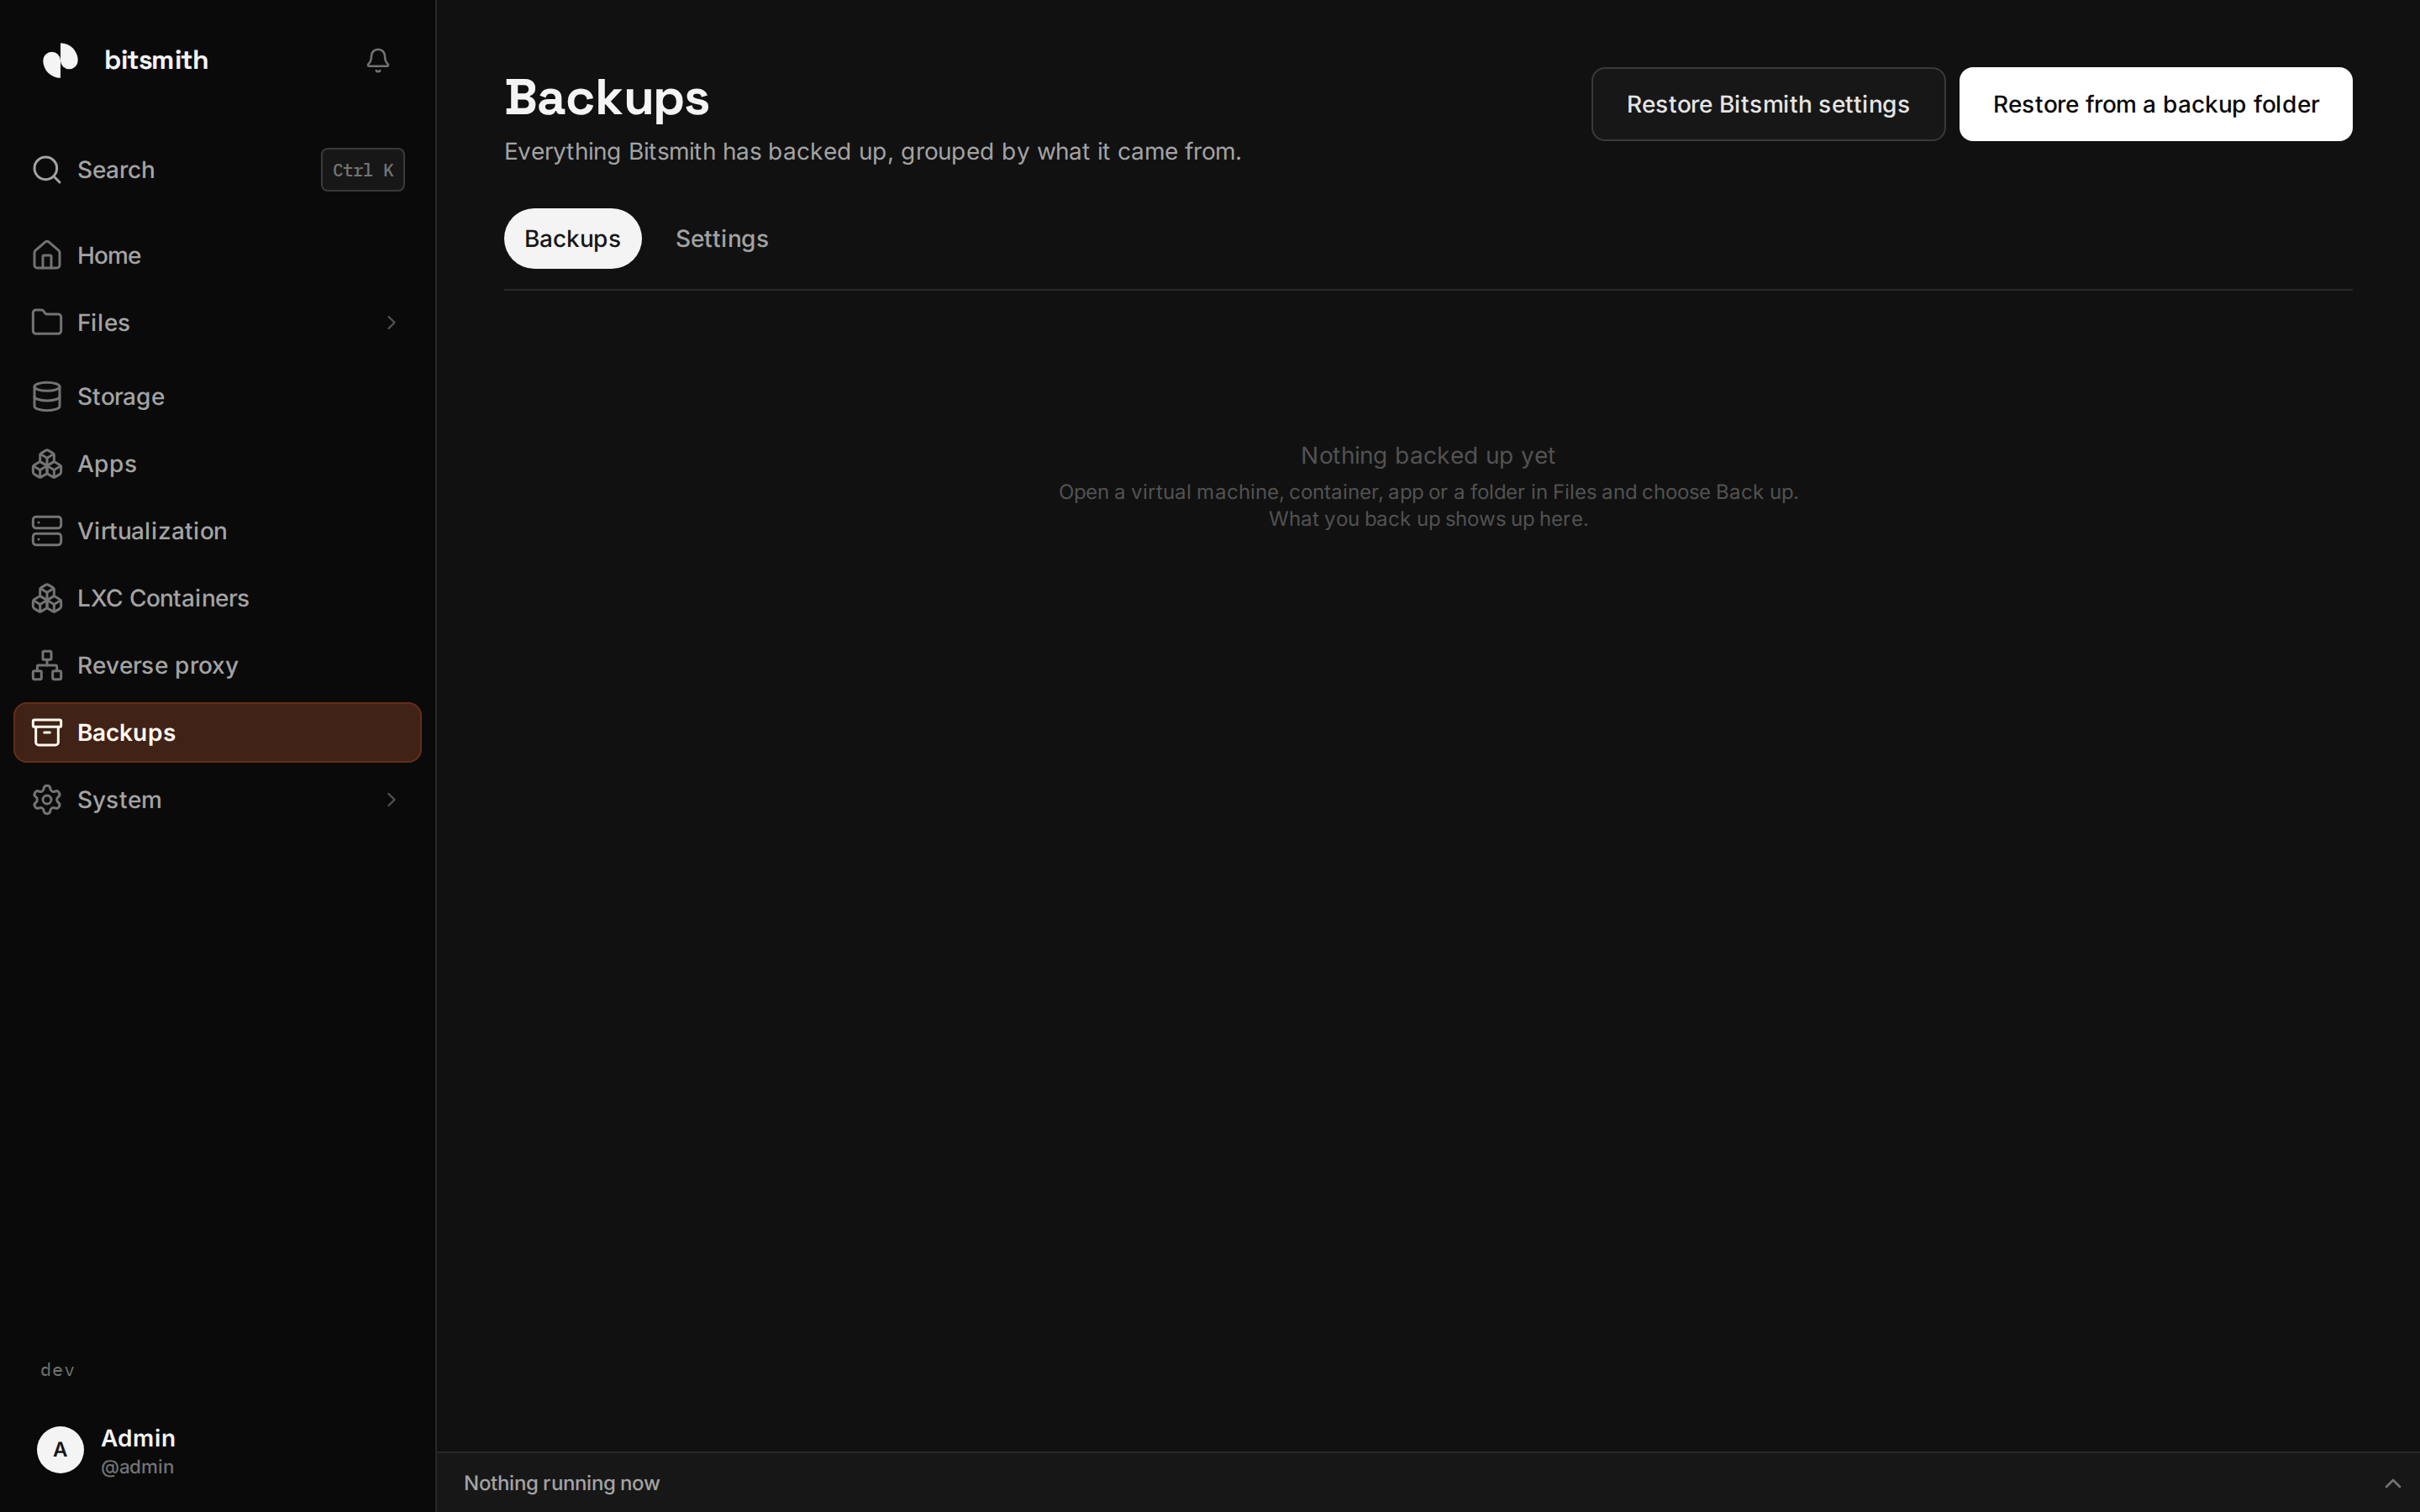
Section titled “See what you have”The Backups page lists everything Bitsmith has backed up, grouped by source: your VMs, containers, apps, and folders.
Each source shows:
- Its schedules: destination, cadence, and how many versions it keeps. Enable, disable, edit, delete, or run one now from here.
- Its versions: when each one was made, which destination it’s at, its size, and whether it carries a checksum. Restore or delete a version from here.
The Settings tab on the same page holds the speed limit for backups written to the system drive, whether app backups embed the Docker images they use, and the passphrase for the settings archive.
Restore
Section titled “Restore”From a version on the list
Section titled “From a version on the list”Open the version you want on the Backups page and choose Restore. What you’re asked next depends on what it is:
- Files: restore everything in the version, a single folder, or a single file, to the original folder, a fresh folder, or one you choose.
- VMs: Restore as new VM leaves the original untouched, or Replace existing VM stops it and swaps its disk for the backup’s.
- Containers: Restore as new container or Replace existing container, which stops it and replaces its rootfs.
- Apps: Restore as new app or Replace existing app.
Restoring as new is the safer default when you only need to check the contents first. Replacing overwrites the current version, so use it when you’re sure you want the older copy.
A folder restore creates a new folder by default, named after the source and the date and time you restored it, so nothing already in the target folder is touched. Choose Merge into the folder if you’d rather overlay the restored files onto what’s already there; it never deletes anything newer that’s already in the target.
Older backups made before Bitsmith started recording checksums restore with a warning instead of a guarantee that every byte matches. This never blocks the restore, it just means Bitsmith can’t verify it.
From a backup folder
Section titled “From a backup folder”If you have a backup folder that isn’t in Bitsmith’s list, for example after reinstalling or moving a drive, choose Restore from a backup folder. The Where the backups are list holds the places this server already backs up to, so the usual case is one click. Browse for another folder is there for a disk from another machine.
Any level works. Point Bitsmith at the whole destination, at the backup
folder inside it, at a folder for one kind of thing, at one source’s folder,
or at a single version, and it finds the nearest real backup and tells you
where it found it. If there is nothing there, it says which nothing it is: no
backup in this folder, or a backup folder with no versions in it yet.
Bitsmith shows you what it found, what it is, when it was made, its size, and whether the original still exists, before you confirm the restore.
What a backup folder looks like
Section titled “What a backup folder looks like”A backup destination is browsable with any file manager. Inside bitsmith,
the backup folder holds one folder per kind of thing, then one per source,
then one per version named after the date and time it was taken:
Pool/bitsmith/backup/ vm/100/ 2026-08-31 03-00/ backup.json what this is: the source, when, and the version of Bitsmith checksums.json a sha256 for every file beside it disk.qcow2 the backup itself bitsmith-settings.tar.gz.gpgCopying a version folder somewhere else copies a complete, self-describing backup: nothing outside it is needed to restore it.
Restore Bitsmith settings
Section titled “Restore Bitsmith settings”Bitsmith automatically encrypts and saves a copy of its own configuration after every backup, next to your other backups. Choose Restore Bitsmith settings, pick the archive (or the backup folder that holds it), and enter the passphrase.
Write the passphrase down somewhere safe when you first see it on the Backups page. Without it, this backup can’t be decrypted.
Bitsmith copies your current configuration aside before applying the restored one, so you can always get back to what you had.
From the command line or an agent
Section titled “From the command line or an agent”Everything on the Backups page except restoring from a backup folder and
restoring settings also works from bitsmith backup in a terminal, the
API, and an AI agent over
MCP. bitsmith backup restore restores
as new; bitsmith backup replace overwrites the original and asks first.