Create and connect to a VM
A virtual machine (VM) is a complete computer running inside your server, with its own operating system. Use one when an app isn’t enough and you need a whole OS, a test environment, or something that doesn’t run in a container.
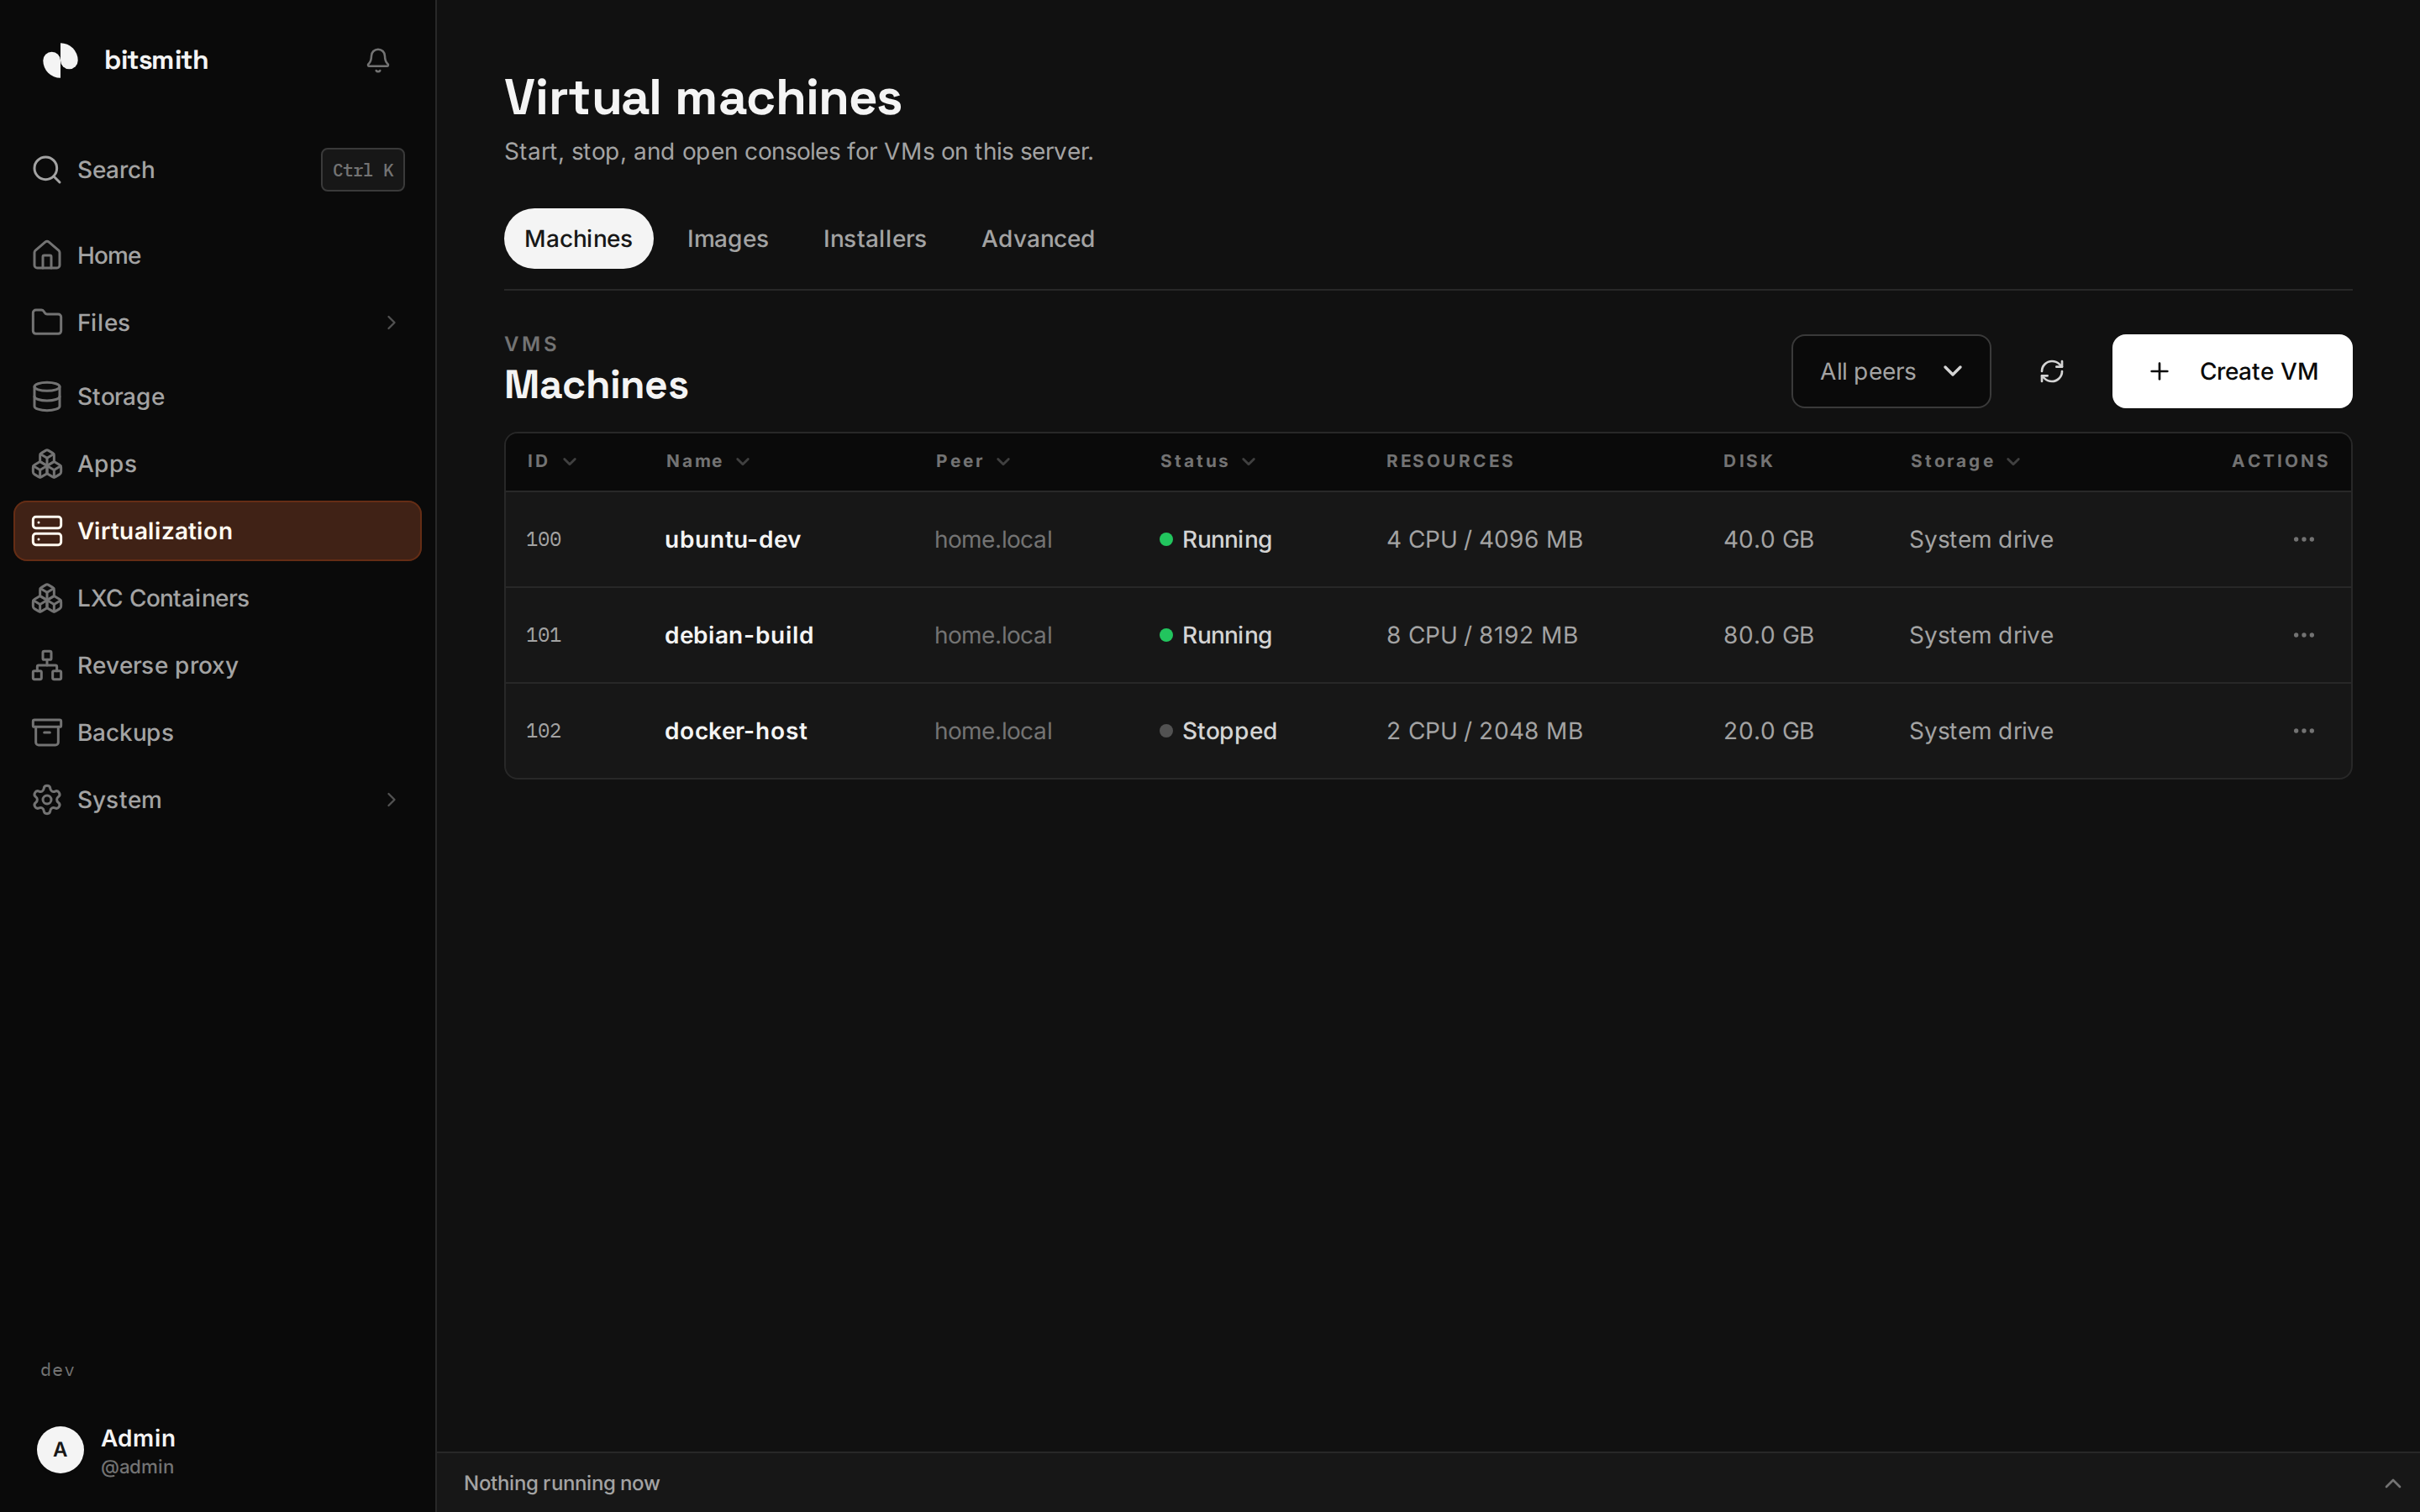
VMs live under Virtualization in the sidebar. Creating one walks through a system, resources, and setup.
1. Choose a system
Section titled “1. Choose a system”Give the VM a name (the ID is suggested for you), then pick what it runs:
- Ubuntu, Debian, Rocky Linux and Alpine Linux are cloud images from the catalog. Bitsmith downloads the one you pick; it boots ready to use and is configured with cloud-init (below). Alpine runs as a micro VM that boots in about a second.
- Windows installs Windows 10 or 11 from an ISO you choose or upload. See Windows.
- Other ISO boots any other installer you choose or upload, the same as installing an OS on a physical machine.
- Your images holds the templates you captured and the qcow2 disks you uploaded. Choose one from the list, or upload a disk exported from elsewhere.
On an arm64 server the catalog images are the arm64 builds, and Alpine and Windows are not offered.
2. Set resources
Section titled “2. Set resources”- CPU cores and memory.
- Storage space for the VM’s disk, and a disk size. The wizard can also attach extra data disks.
Pick what the OS needs with room to spare. You can resize the disk later.
When the source is an image, the wizard offers Share the image’s disk (a linked clone). With it on, the VM reads straight from the image and is ready in seconds, but the image has to stay on this server until the VM is deleted. With it off, Bitsmith copies the whole image first; a large image takes minutes.
3. Configure with cloud-init (image installs)
Section titled “3. Configure with cloud-init (image installs)”Cloud-init sets up a cloud image on first boot so it’s ready to log into:
- Username for the account it creates.
- SSH public key, paste yours here to get key-based SSH access as soon as
it boots. The account has passwordless
sudo, so you get full control. - Password and whether to allow SSH password sign-in.
- Network, leave on automatic (DHCP) or set a static IP, gateway, and DNS.
- Upgrade packages on first boot.
Review and create. Bitsmith provisions the VM and starts it.
Control a running VM
Section titled “Control a running VM”Start, shut down, and restart a VM from its controls. Shut down asks the guest OS to power off cleanly. Suspend and Resume work differently: Suspend saves the guest’s memory to disk and stops the VM, releasing its RAM, and Resume restores that memory instead of booting. Anything open in the guest is still open. A VM keeps its disk between runs, so starting it again resumes where it left off.
Connect with the console
Section titled “Connect with the console”The VM’s Console tab has two consoles:
- Serial, the text-based serial console. The guest has to expose a serial login prompt for it to be interactive.
- Graphical, the VNC display, the equivalent of a monitor plugged into the machine, with keyboard and mouse. This is the one to use for ISO installs where you need to click through an installer.
In the VM’s settings, the Default console view picks which of the two the Console tab opens first.
Connect over SSH
Section titled “Connect over SSH”For day-to-day use, SSH is usually nicer than the console. If you added your SSH public key during cloud-init setup (above), you can connect as soon as the VM has an address:
- Find the VM’s IP. Bitsmith shows it once the VM has one, or it’s the static address you set. A VM’s menu also surfaces a ready-to-use SSH command.
- From your computer, run
ssh <username>@<vm-ip>.
The cloud-init account has passwordless sudo, so you have full control of the
guest. Bitsmith’s job ends at handing you the keys; what you do inside the VM
is up to your own tools.
VMs attach to your LAN bridge, so they get their own address and appear as real devices on your network, just like another physical machine.
Disks, boot order, and logs
Section titled “Disks, boot order, and logs”Add disk attaches a new qcow2 data disk from the VM’s menu, while the VM runs or is stopped. Resize grows a data disk, and Remove detaches one and deletes its files. The root disk is grown with Increase storage, grow only.
Boot order picks what the VM tries first: its disk, or a mounted installer ISO. The VM must be stopped to change it. VM logs shows the recent libvirt/QEMU output for the VM, the first place to look when a VM misbehaves.
Clone, capture, and move a VM
Section titled “Clone, capture, and move a VM”Clone a VM to get an independent copy with its own disk, handy for
spinning up a second instance without repeating setup, and Move to
storage to relocate a VM’s disk to a different storage pool. Capture as
template is not a menu item; it’s an API and MCP capability
(capture_vm_as_template under vm.manage) that turns a configured VM into
a reusable image you can create new VMs from.
Back up and restore a VM like anything else on the server; see Backups.
Warm states
Section titled “Warm states”Warm states are an API and MCP capability today, with no page in the interface for them.
Saving freezes a running VM’s guest memory plus the exact disk contents that memory refers to into a warm state; the source VM keeps going. Starting a new VM from it resumes out of the frozen memory instead of booting. A linked clone provisions a disk in a second and then spends a minute booting; a warm state starts a machine that is already up. Saved warm states can be listed and deleted.
The MCP tools are save_vm_warm_state, create_vm_from_warm_state,
list_vm_warm_states, and delete_vm_warm_state. A VM started from a warm
state keeps the source’s machine ID, SSH host keys, and hostname, so re-key
it before you rely on its identity.